1
Prerequisites
To go through this tutorial, you should have the following:
- A new Unity project with Coplay installed.
- If you haven’t installed Coplay yet, follow the installation guide
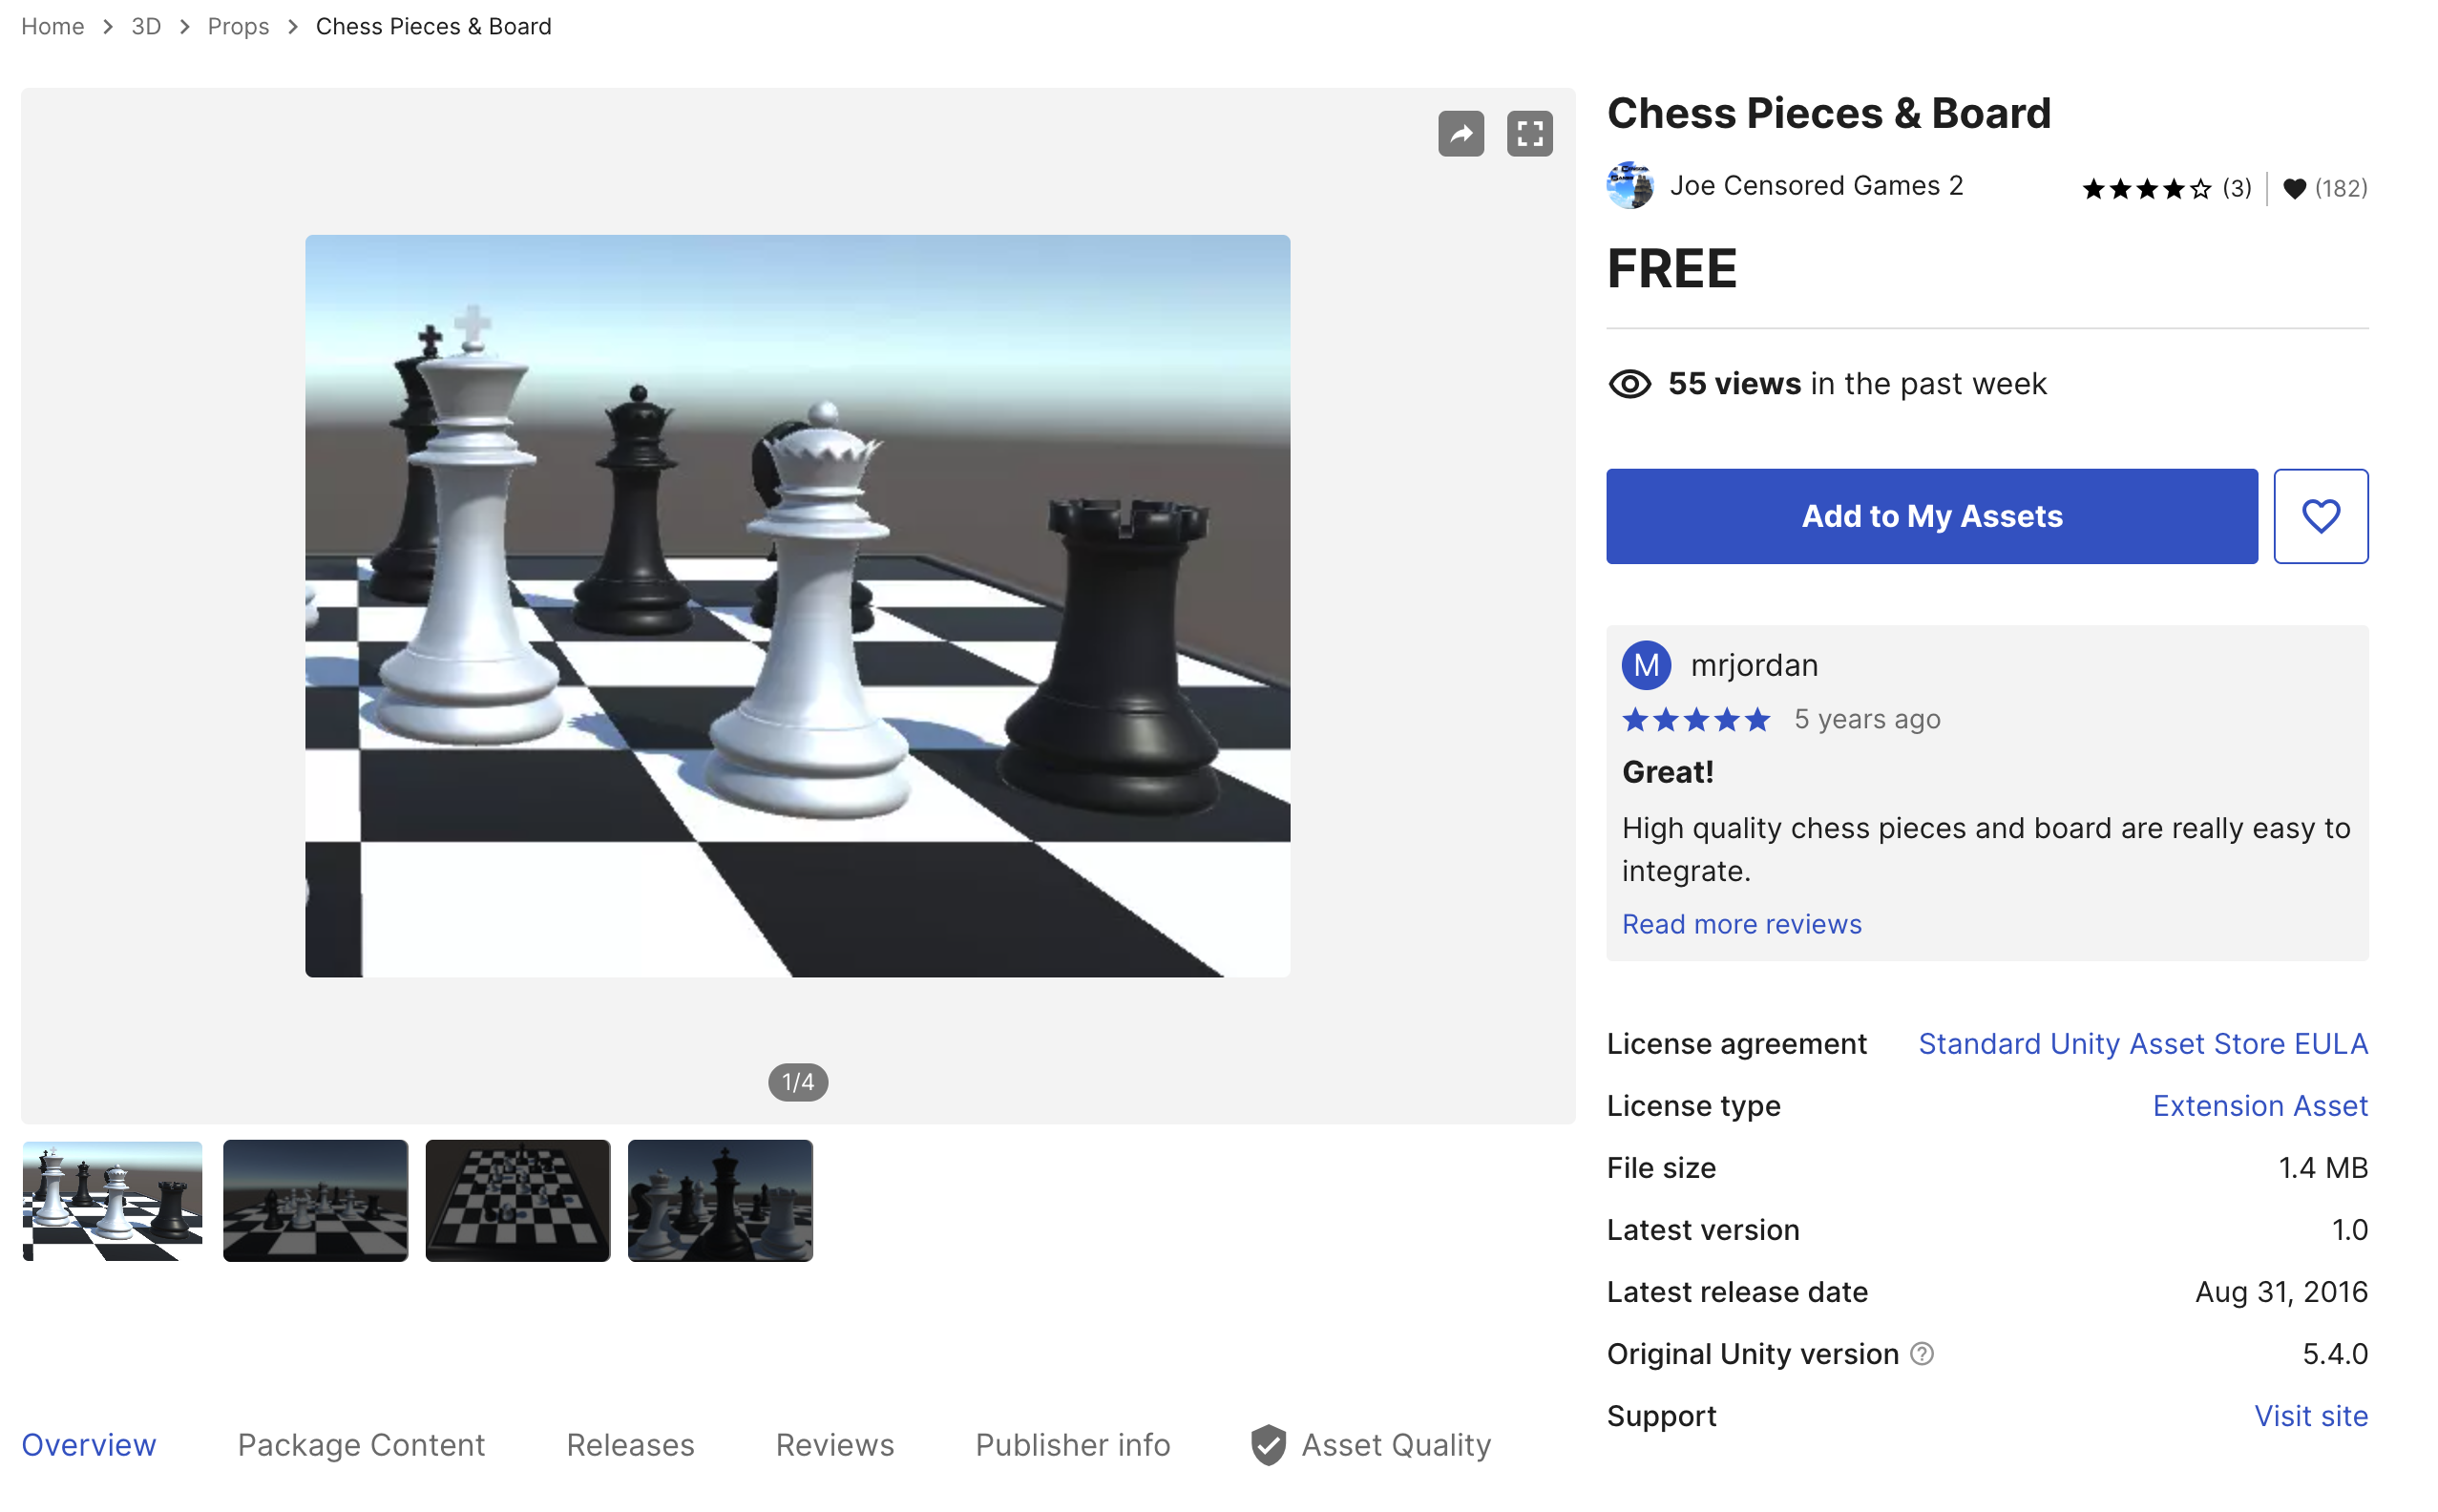
- A Unity Asset Store with this free chess asset
pack
added (trust us, it’s easier than creating your own chess pieces):
2
Configure your Coplay settings
- Open the Coplay settings window by going to Coplay > Toggle Window in
the Unity menu or pressing
⌘ + GorCTRL + Gdepending on whether you’re on Mac or PC. - Make sure the Auto-approve option is checked.
- Set the Model to
claude-4-sonnet(feel free to play around with other models — we have generally found the best performance with this one).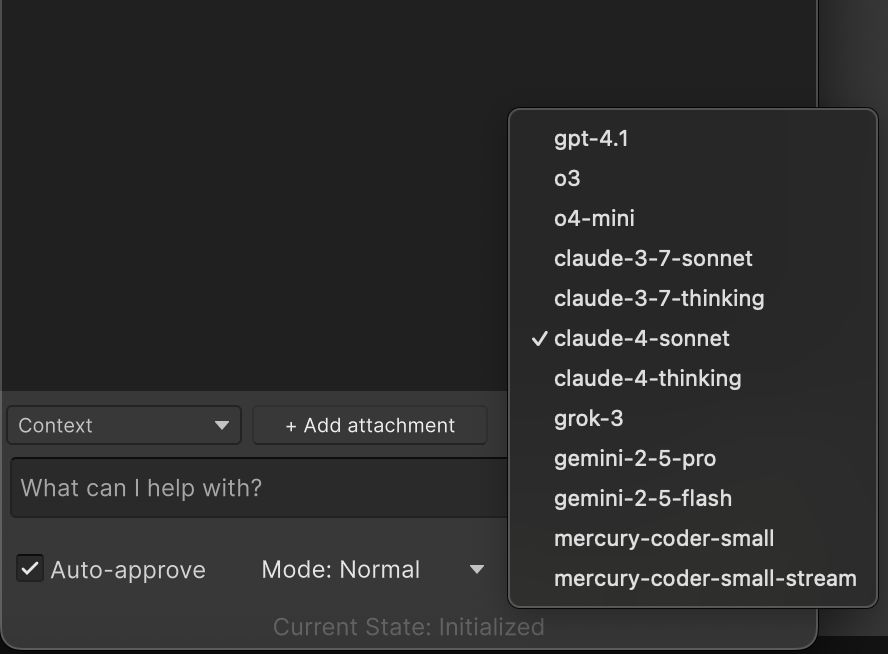
3
Import Your Chess Assets
- Download the chess asset pack from the Unity Asset Store.
- Navigate to
Window > My Assetsand import the downloaded package into your Unity project. - You should now see a folder named
Chess Piecesin your project window.
Make sure to uncheck the
Blender.zip and Chess Demo.Unity files when importing the package,
as they are not needed for this tutorial.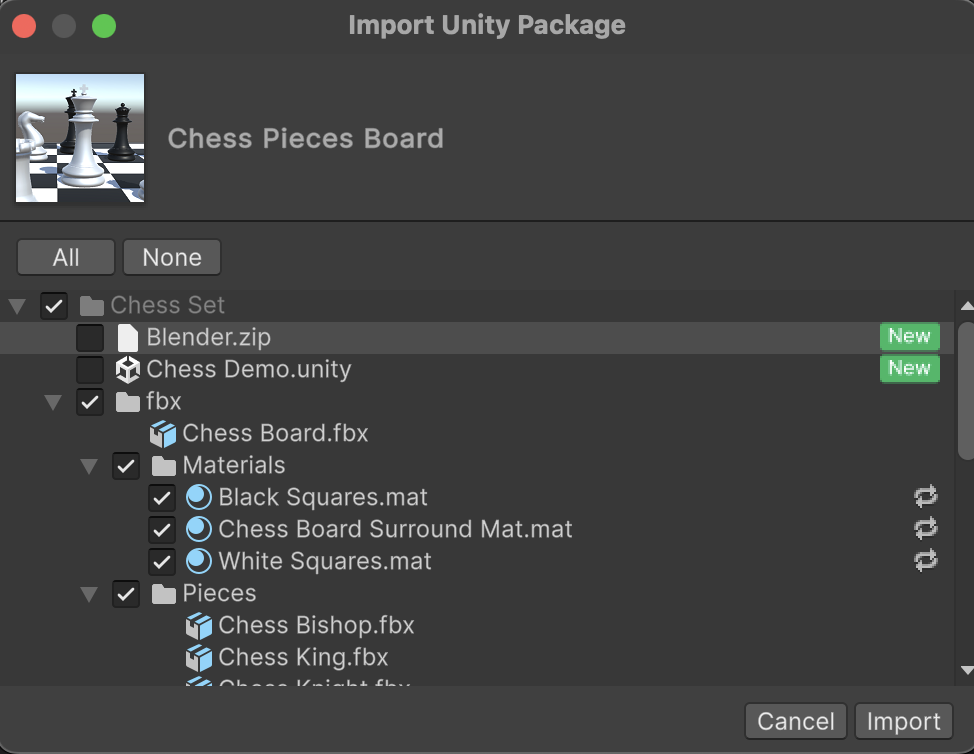
4
Write a prompt telling Coplay what to do
This is the fun part. Use the prompt below as a starting point
but feel free to modify it to your liking once you have a working game.This prompt is going to change the following:
- Each game piece controlling possible actions
- A game manager that initializes the board with appropriate layout and manages game state
- Mouse input controller using Unity’s Input System with raycast detection for piece selection,
- AI opponent with minimax algorithm and adjustable difficulty levels.
Prompt Instructions
5
Run the prompt
- Copy the prompt above and paste it into the Coplay chat window.
- Press
Enterto send the prompt to Coplay. - Wait for Coplay to process the request and generate your chess game.
6
Go get a coffee
You’ve earned it. Coplay’s got it from here.
7
Check in on Coplay's progress
- After a few minutes, check the Coplay chat window to see the progress of the chess game creation.
- Coplay will provide updates on the game setup but will stop every 20 actions to ask for your approval. This is expected and default behavior to ensure you have control over the changes being made to your project.
- If Coplay asks for approval just click the Approve button to continue.
- If you want to make changes to the game, you can stop Coplay
by pressing
Shift + ⌫or clicking theStop Thinkingbutton in the Coplay chat window.
8
Play the Game
- Once Coplay has finished creating the chess game, you can play it by clicking the Play button in the Unity Editor.
- Follow the on-screen instructions to start playing against the AI opponent.
- If you want to change the AI difficulty, you can do
so by modifying the AI script in the
Assets/Chess Pieces/Scriptsfolder.
9
Share Your Game with Us!
We would love to see what you have created!
Share your chess game with us on social media and tag us!
Even better, share it in the Coplay Discord community.
10
Take Your Game to the Next Level!
Now that you have a basic chess game, consider enhancing it with additional features: